

Signs You've Outgrown Shared Hosting
If your WordPress site is throttled by CPU limits, hit mysterious inode caps, or delivers slow time-to-first-byte (TTFB) under traffic spikes, you've likely outgrown shared hosting. Most shared environments lock you out of SSH, prevent you from tuning PHP workers, and offer no granular control over caching or database queries. Migrating WordPress to a VPS gives you root access, dedicated resources, and the freedom to optimize every layer of your stack.
Common red flags include: backend timeout errors when editing large posts, plugin updates that hang indefinitely, or angry emails from your host threatening suspension for "high resource usage." When your business depends on uptime and speed, it's time to move WordPress from shared hosting to a properly tuned VPS.
Pre-Migration Checklist
Before you provision a server, prepare your current site for the move. Lower your DNS TTL (time-to-live) to 300 seconds at least 48 hours before migration; this ensures DNS changes propagate faster when you flip the switch. Document your PHP version, active plugins, and any custom .htaccess rules. Generate a full backup—files and database—using a plugin like UpdraftPlus or via SSH if you have access. Verify that your backup is complete and test a restoration on a local environment to confirm it works.
Check your theme for hardcoded URLs; serialized database entries will need search-and-replace during the migration. Note any SMTP or email-delivery plugins, cron jobs, and third-party integrations (payment gateways, CDN tokens) so you can reconfigure them on the new server. Finally, take a screenshot of your current wp-config.php database credentials; you'll replace these once the new database is live.
Provision Your VPS and Install the LEMP Stack
Select a VPS provider—DigitalOcean, Hetzner, Linode, or Vultr are popular choices. Choose a plan with at least 2 GB RAM and SSD storage; WordPress with WooCommerce or heavy plugins typically needs 4 GB for smooth operation. Deploy a fresh Ubuntu 22.04 or 24.04 instance, then SSH in as root to begin configuring your stack.
Install Nginx, MySQL (or MariaDB), and PHP-FPM—the LEMP stack. Lock down SSH by disabling password authentication and switching to key-based login. Configure a firewall (ufw) to allow only ports 22, 80, and 443. Create a MySQL database and user for WordPress, granting all privileges. Tune PHP-FPM by increasing memory_limit to 256M and max_execution_time to 300. Optimize MySQL's innodb_buffer_pool_size based on available RAM. This manual provisioning can take hours; platforms like Pivotlar automate the entire stack setup, delivering a hardened, performance-tuned WordPress server in minutes.
Migrate Files and Database
On your shared host, compress your WordPress files into a .tar.gz archive and download it, or use rsync if SSH is available. Upload the archive to your VPS under /var/www/your-domain, extract it, and set ownership to www-data:www-data. Export your WordPress database as an SQL dump using phpMyAdmin or mysqldump. Upload the .sql file to your VPS and import it into the new database you created earlier.
Edit wp-config.php on the VPS to point to the new database name, user, and password. Add unique salts and keys if they weren't already set. At this stage, do not change your domain's DNS; the new server holds a copy of your site, but the old shared host is still live.
Test on a Temporary URL or Hosts File
Before flipping DNS, test the migrated site thoroughly. Point a subdomain (e.g., preview.yourdomain.com) to your VPS IP via an A record, or edit your local hosts file to map your domain to the new IP. Browse the site as if it were live: check the homepage, posts, admin dashboard, plugins, and forms. Verify that images load, permalinks resolve correctly, and the database connection is stable.
Run a search-and-replace on the database if URLs are hardcoded; use WP-CLI with wp search-replace 'oldsite.com' 'newsite.com' --dry-run first, then without the flag. Confirm that cron jobs fire, email delivery works, and any third-party integrations (payment gateways, analytics) are functioning. This testing phase is critical: once DNS propagates, you cannot easily roll back without downtime.
Install SSL and Configure HTTPS
Request a free Let's Encrypt certificate using Certbot. Run sudo certbot --nginx -d yourdomain.com -d www.yourdomain.com and follow the prompts. Certbot will automatically configure Nginx to serve HTTPS and redirect HTTP traffic. Verify the certificate by visiting https://yourdomain.com using your hosts file or preview subdomain. Update wp-config.php to define WP_HOME and WP_SITEURL with https:// URLs if you haven't already. Test the admin dashboard over HTTPS to ensure no mixed-content warnings appear.
The Zero-Downtime DNS Flip
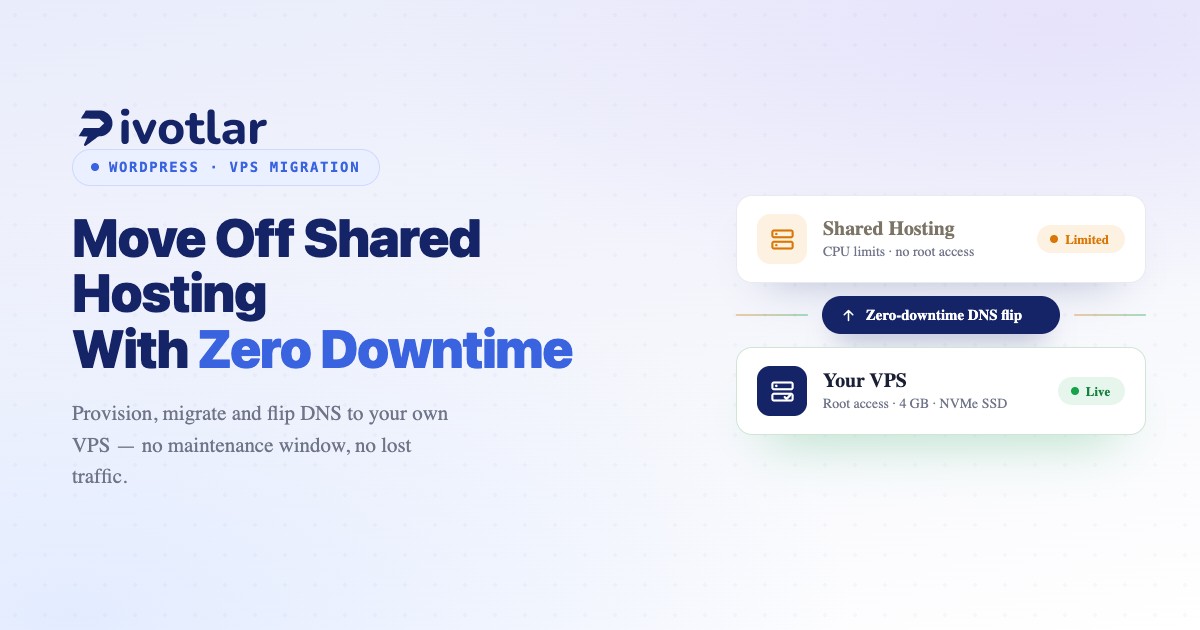
Because you lowered your DNS TTL days earlier, changes propagate within minutes. Log in to your domain registrar or DNS provider and update the A record to point to your VPS IP. Leave the old shared host untouched during the propagation window—typically 5 to 30 minutes with a 300-second TTL. Visitors whose DNS cache still points to the old IP will continue to see the shared host; new lookups resolve to the VPS. Both servers serve identical content, so no user sees an error page.
Monitor traffic in real time using server logs or an uptime monitor. Once propagation completes globally (check with DNS lookup tools from multiple regions), all traffic flows to the VPS. The old shared host receives no requests and can be decommissioned safely. This strategy eliminates the maintenance-mode window and prevents SEO penalties caused by extended downtime.
Manual vs. Automated Provisioning and Migration
Manually configuring Nginx virtual hosts, PHP-FPM pools, MySQL tuning, and firewall rules is error-prone and time-consuming. A misconfigured Nginx directive can serve PHP files as plain text; incorrect MySQL collation can corrupt UTF-8 data. Automated provisioning platforms like Pivotlar remove this risk by deploying pre-hardened LEMP stacks with optimized settings for WordPress. They handle SSL, firewall rules, and database tuning out of the box, letting you focus on content instead of server administration.
For agencies managing dozens of client sites, manual migration multiplies effort and increases the chance of mistakes. Pivotlar's workflow provisions a new VPS, migrates files and database, configures SSL, and validates the stack in minutes—no SSH required. This repeatability is crucial when you need to migrate WordPress to DigitalOcean, Hetzner, or another provider without reinventing the wheel each time.
Post-Migration Hardening and Optimization
After DNS propagates, audit your new VPS for security and performance. Enable object caching with Redis or Memcached; configure Nginx FastCGI cache or a page-cache plugin like WP Rocket. Set up automated backups to an off-server location—Backblaze B2, AWS S3, or your VPS provider's snapshot feature. Restrict wp-admin access by IP if your team works from fixed addresses, and install a firewall plugin or fail2ban to block brute-force login attempts.
Review your plugins and remove any that were workarounds for shared-hosting limitations (e.g., caching plugins that compensate for slow servers). Monitor server load with tools like htop or New Relic; if CPU or memory usage spikes, investigate slow queries or unoptimized images. Schedule weekly database optimizations with WP-CLI: wp db optimize. Finally, raise your DNS TTL back to a higher value (e.g., 3600 or 86400) to reduce query load on your nameservers.
Decommission Your Old Shared Host
Wait 7 days after the DNS flip before canceling your shared hosting account. This grace period ensures no edge-case DNS cache or email delivery issues linger. Download a final backup from the old host for archival purposes, then delete all files and databases to prevent accidental data exposure. Cancel auto-renewal and confirm termination in writing. If you used the old host's nameservers, migrate to Cloudflare or your domain registrar's DNS service to retain control even after the hosting account closes.
Frequently Asked Questions
Will migrating WordPress hurt my SEO?
No, if done correctly. Search engines care about uptime, page speed, and content—not where your server is hosted. The zero-downtime DNS strategy ensures Google never encounters a 503 error during the switch. In fact, moving to a faster VPS often improves rankings because TTFB and Core Web Vitals metrics improve. Avoid changing URLs or permalink structures during migration; keep the same domain and HTTPS configuration to prevent redirect chains or broken links.
How long does WordPress migration take?
Manual migration—provisioning the VPS, installing the stack, moving files, testing, and flipping DNS—can take 4 to 8 hours for a moderately complex site. Automated platforms reduce this to under 30 minutes by scripting server setup and file transfers. DNS propagation adds 5 to 30 minutes once you update records. Budget a full day if you're doing it manually for the first time, including testing and troubleshooting.
Can I move WordPress without downtime?
Yes, using the pre-migration DNS TTL strategy outlined above. By testing the new server fully before changing DNS, and keeping the old host live during propagation, you ensure continuous availability. Visitors see either the old server or the new one—never an error page. This method is industry-standard for enterprise migrations and works equally well for small sites.
DNS TTL Lowering Tip: Most DNS providers default to an 86400-second (24-hour) TTL. If you lower it to 300 seconds only an hour before migration, many recursive resolvers will still cache the old IP for a full day. Plan ahead: set TTL to 300 at least 48 hours before your migration window, then change the A record. After propagation completes, raise TTL back to 3600 or higher to reduce DNS query load.
Why VPS Migration is a Growth Unlock
Migrating WordPress from shared hosting to a VPS is not just a technical upgrade—it's a business decision. You gain the ability to scale resources on demand, deploy staging environments, and run performance tuning that would be impossible on shared infrastructure. For agencies and high-traffic publishers, the control and speed of a VPS translate directly into better client outcomes and higher search rankings. Whether you migrate WordPress to DigitalOcean, Hetzner, or another provider, the process is repeatable and low-risk when you follow a methodical checklist and leverage automation where possible.