
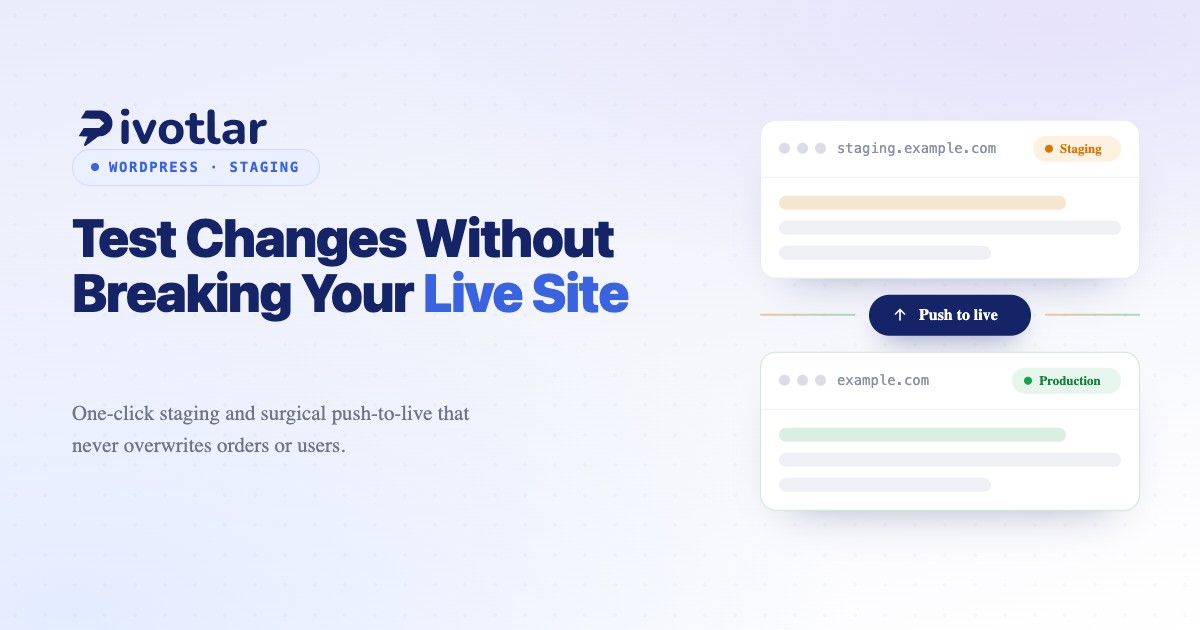

What Is a WordPress Staging Site?
A WordPress staging site is an isolated clone of your production website where you can test changes—plugin updates, theme modifications, core upgrades, or redesigns—without affecting your live visitors. Think of it as a sandbox environment that mirrors your production site's files, database, server configuration, and PHP version, allowing you to catch errors, compatibility issues, and layout breaks before they reach real users.
The classic agency nightmare happens at 4pm on a Friday: a developer pushes a plugin update directly to production, and suddenly the checkout page throws a fatal error. Orders stop. Phones ring. The weekend is ruined. A proper staging workflow prevents this scenario entirely by giving you a safe space to validate changes before deployment.
What a Staging Environment Should Mirror
For a staging site to accurately predict how changes will behave in production, it must replicate your live environment as closely as possible. Key elements include:
- WordPress files: the entire wp-content directory (themes, plugins, uploads), plus core files at the same version
- Database: a complete copy of your production MySQL database, including posts, pages, settings, users, and plugin configurations
- PHP version: staging should run the same PHP release as production to catch version-specific compatibility issues
- Server configuration: matching nginx or Apache rules, memory limits, and execution timeouts
- SSL certificate: HTTPS on staging prevents mixed-content warnings and mirrors production security
Minor differences are acceptable—staging typically uses a subdomain like staging.example.com rather than your main domain—but core functionality must match. If production runs PHP 8.2 with specific nginx rewrites for WooCommerce, staging needs identical settings.
The Manual Pain: Building a Staging Site by Hand
Creating a staging environment manually is tedious and error-prone. Here's what the process typically involves:
Step 1: Copy the Database
Export your production database via phpMyAdmin or mysqldump, then import it into a separate staging database. Sounds simple, but large databases (especially WooCommerce sites with thousands of orders) can time out during export or hit import size limits.
Step 2: Search-Replace the Domain
WordPress stores URLs as absolute paths in the database—post content, widget settings, theme options all contain references to https://example.com. You must run a search-replace operation to swap every instance of your production domain with your staging subdomain. Tools like WP-CLI's search-replace command or Better Search Replace plugin handle this, but serialized data (common in WordPress) makes simple find-and-replace dangerous. Miss a serialized string length, and you corrupt the database.
Step 3: Configure the Web Server
Create a new nginx virtual host (or Apache vhost) pointing to your staging directory. Set up DNS for staging.example.com, provision an SSL certificate via Let's Encrypt, and configure your server block with the correct root path, PHP-FPM socket, and rewrite rules. Each step introduces opportunities for typos and misconfigurations.
Step 4: Block Search Engines
Add a robots.txt file or meta tag to prevent Google from indexing your staging site. Failing this step can trigger duplicate content penalties or, worse, leak unfinished pages into search results. You might also password-protect staging via HTTP Basic Auth to keep it private.
Step 5: Test Everything
Log in, verify plugin settings survived the migration, check that file uploads reference the new domain, and confirm forms submit correctly. Only then can you begin actual testing of the changes you wanted to make in the first place.
This entire process can take hours—and that's before you've tested a single plugin update. For agencies managing dozens of client sites, manual staging is unsustainable.
The Dangerous Part: Pushing Staging to Live
Once you've validated changes on staging, you face the riskiest step: deploying to production. The naïve approach—overwriting the entire live database with staging's database—is catastrophic. Here's why:
User Data and E-Commerce Orders
While you were testing on staging, real customers placed orders on production. They created accounts, subscribed to newsletters, updated profiles. If you blindly replace the live database with staging's, you erase all that activity. Orders vanish. User accounts disappear. Refund requests flood your inbox.
The same applies to comments, form submissions, and any user-generated content created after you cloned staging. A proper push-to-live workflow must preserve certain tables—typically wp_users, wp_usermeta, and WooCommerce tables like wp_wc_orders and wp_wc_order_meta.
The Surgical Approach
Safe deployment requires selectively syncing only the data you changed. If you updated a plugin, you push those plugin files and any new database rows the plugin added—not the entire database. If you redesigned the homepage, you push the theme files and that specific page's content, leaving orders and users untouched.
Advanced users write custom scripts to merge databases, excluding certain tables or using timestamps to avoid overwriting recent production data. This is fragile, manual work that breaks when you forget to update the exclusion list for a new plugin that stores data in custom tables.
One-Click Staging and Push-to-Live Automation
Modern WordPress hosting platforms eliminate this manual complexity with automated staging workflows. Pivotlar, for instance, provides one-click staging site creation directly from the dashboard. The platform handles:
- Database cloning and domain search-replace automatically
- Subdomain DNS and SSL certificate provisioning
- Server configuration mirroring (same PHP version, memory limits, and nginx rules)
- Robots.txt and HTTP Auth to block search engines and public access
More importantly, Pivotlar's push-to-live feature intelligently merges changes back to production. You select which elements to deploy—files only, database only, or both—and the system preserves critical tables like wp_users and WooCommerce order data by default. This surgical approach eliminates the risk of overwriting customer activity while ensuring your tested changes deploy reliably.
For agencies, this transforms staging from a multi-hour manual process into a 30-second button click. You can confidently test updates, show clients design previews, and push changes to production without holding your breath.
When to Use a Staging Site
Staging isn't overkill—it's professional best practice. Use staging for:
Plugin and Theme Updates
Major plugin updates (especially page builders, e-commerce plugins, and security tools) can introduce breaking changes. Test on staging first, verify forms still submit, checkout flows complete, and layouts render correctly across devices.
WordPress Core Upgrades
Moving from WordPress 6.4 to 6.5 might break custom code or plugins that haven't updated compatibility. Staging lets you catch these issues before live users encounter white screens of death.
PHP Version Upgrades
Upgrading from PHP 7.4 to 8.2 can expose deprecated function calls in old themes or plugins. Test the upgrade on staging, check error logs, and fix compatibility issues before applying the change to production.
Redesigns and Major Content Changes
When overhauling your site's design or restructuring navigation, staging gives stakeholders a private URL to review changes. Iterate on feedback without subjecting live visitors to half-finished layouts.
Developer Handoffs
If you hire a developer for custom functionality, have them work on staging. You review their code, test it thoroughly, and only push to live once you've confirmed it works as expected.
Common Staging Site Questions
Does a Staging Site Affect SEO?
No, as long as you properly block search engines. Use a noindex meta tag in your staging site's header or a restrictive robots.txt file. Password-protecting staging via HTTP Basic Auth adds an extra layer of protection. Search engines won't index content they can't access.
How Do I Push a Staging Site to Live?
The safest method is selective deployment: push only the files and database changes you intentionally modified, excluding user-generated content like orders, accounts, and comments. Managed platforms like Pivotlar automate this with smart merge logic. Manual approaches require scripting database diffs or using plugins that handle table exclusions.
Will Staging Overwrite My Orders and Users?
Only if you recklessly overwrite the entire live database. Proper push-to-live workflows preserve wp_users, wp_usermeta, and e-commerce tables (wp_wc_orders, etc.). Always verify your deployment tool's exclusion settings before pushing, and keep a recent production backup just in case.
Conclusion: Staging Is Non-Negotiable for Professional WordPress Sites
Editing plugins, themes, or core files directly on production is how sites break during business hours. A staging environment costs you nothing but a bit of disk space and saves you from catastrophic downtime, lost revenue, and panicked client calls. Whether you build staging manually or use a platform like Pivotlar that automates the entire workflow, the ability to test changes safely before deploying to live users is the difference between amateur hour and professional site management.
Set up staging once, and you'll never push an untested update to production again. Your future self—and your clients—will thank you.